
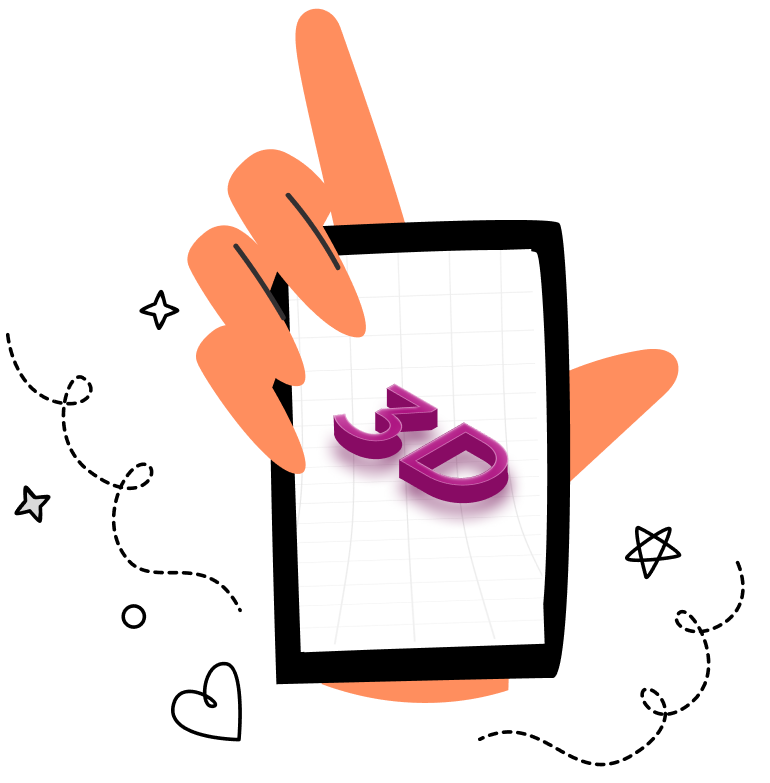
Want to make your text pop with a cool 3D effect? Follow these easy steps to create interactive 3D isometric text in Figma!
Creating isometric 3D text in Figma involves using the isometric projection technique to create a three-dimensional effect. Here’s a step-by-step tutorial to help you achieve this:
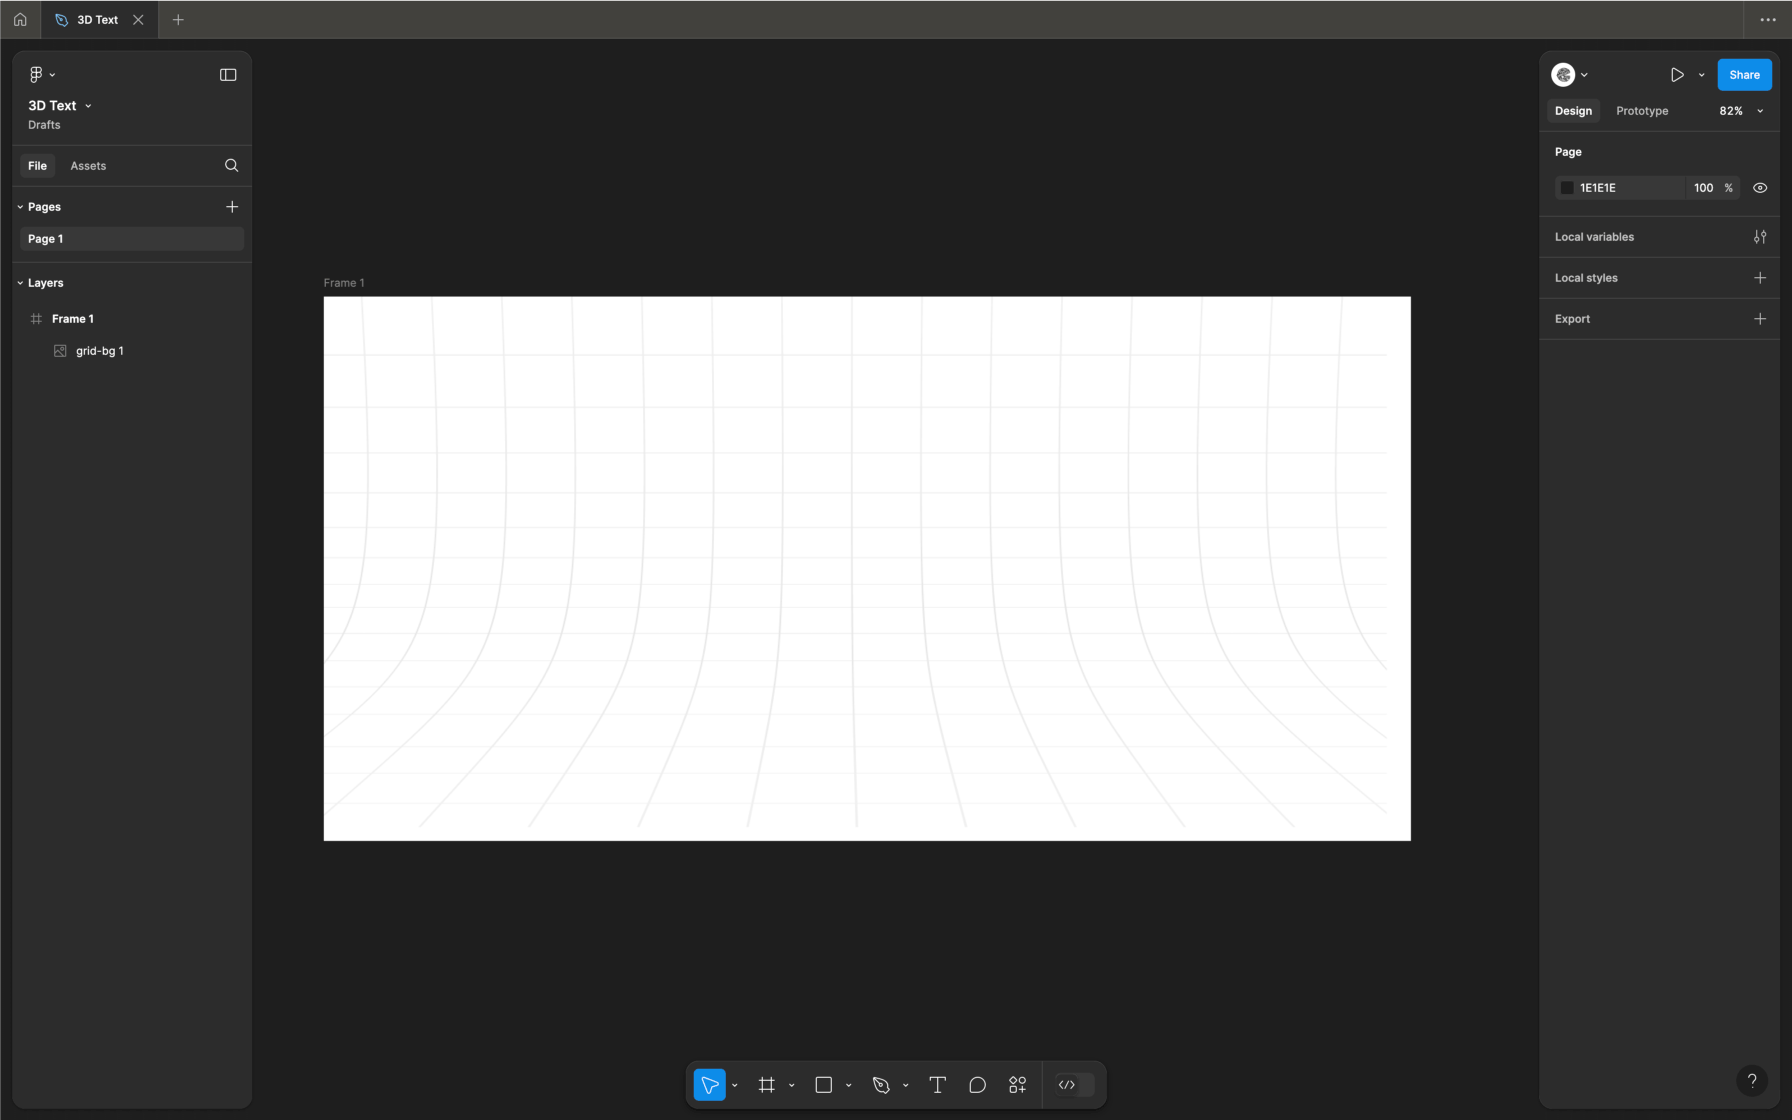
Step 1: Set Up Your Canvas
- Open Figma: Fire up Figma and start a new file or open one you already have.
- Create a Frame: Hit
Fto draw a frame sized 1324px by 663px with a white background. - Add Grid Background Image:
- Upload Image: Upload the grid background image to Figma by dragging and dropping it into your frame.
- Fit Image: Resize and fit the image to cover the entire frame.
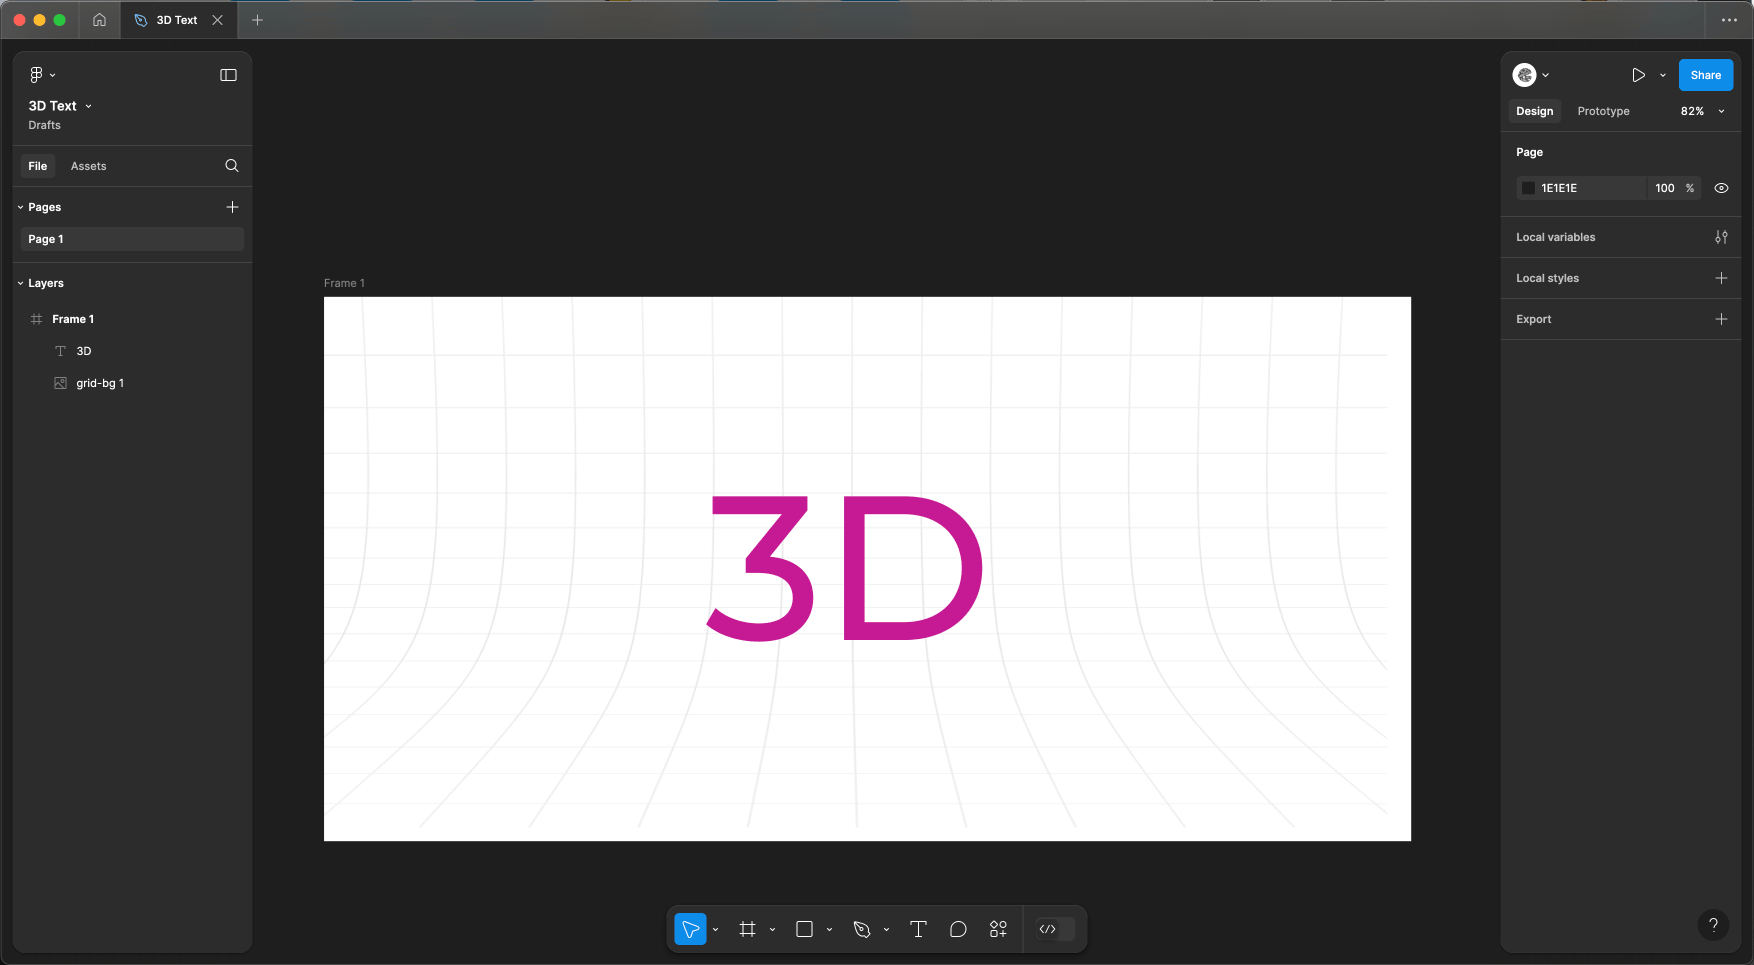
Step 2: Add Your Text
- Add Text: Press
Tand type “3D”. - Font Settings:
- Font: Montserrat
- Size: 330px
- Weight: Medium
- Style Your Text: Set the color to
#C61994.
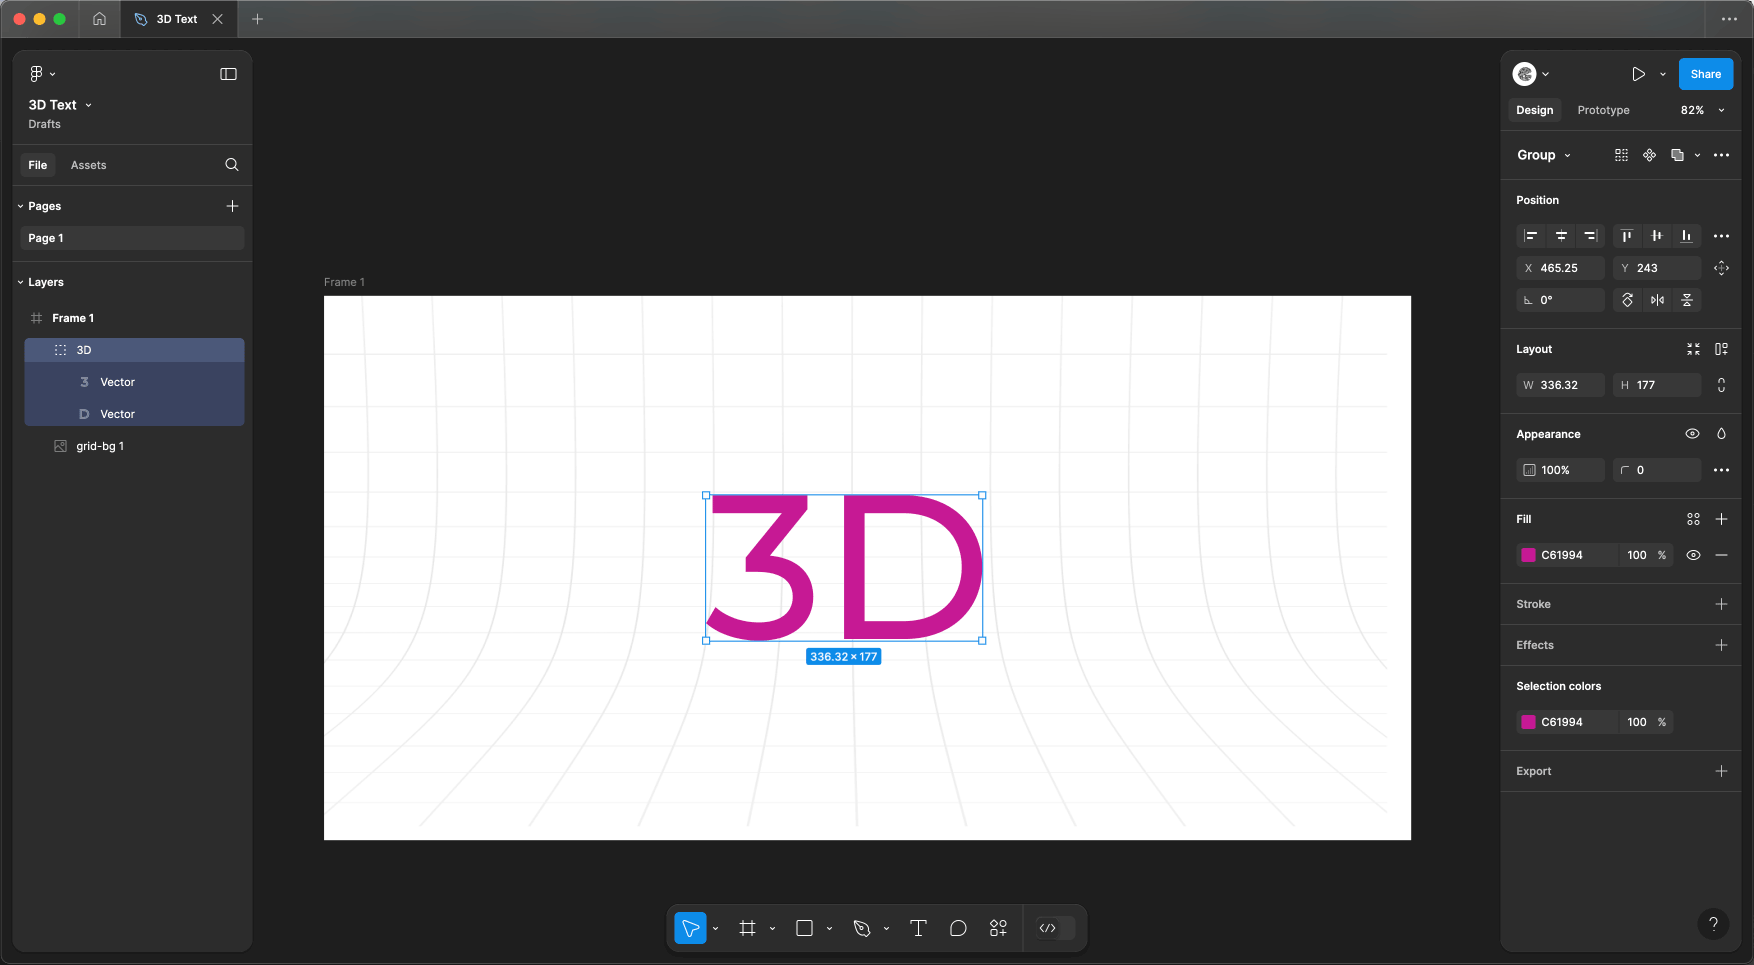
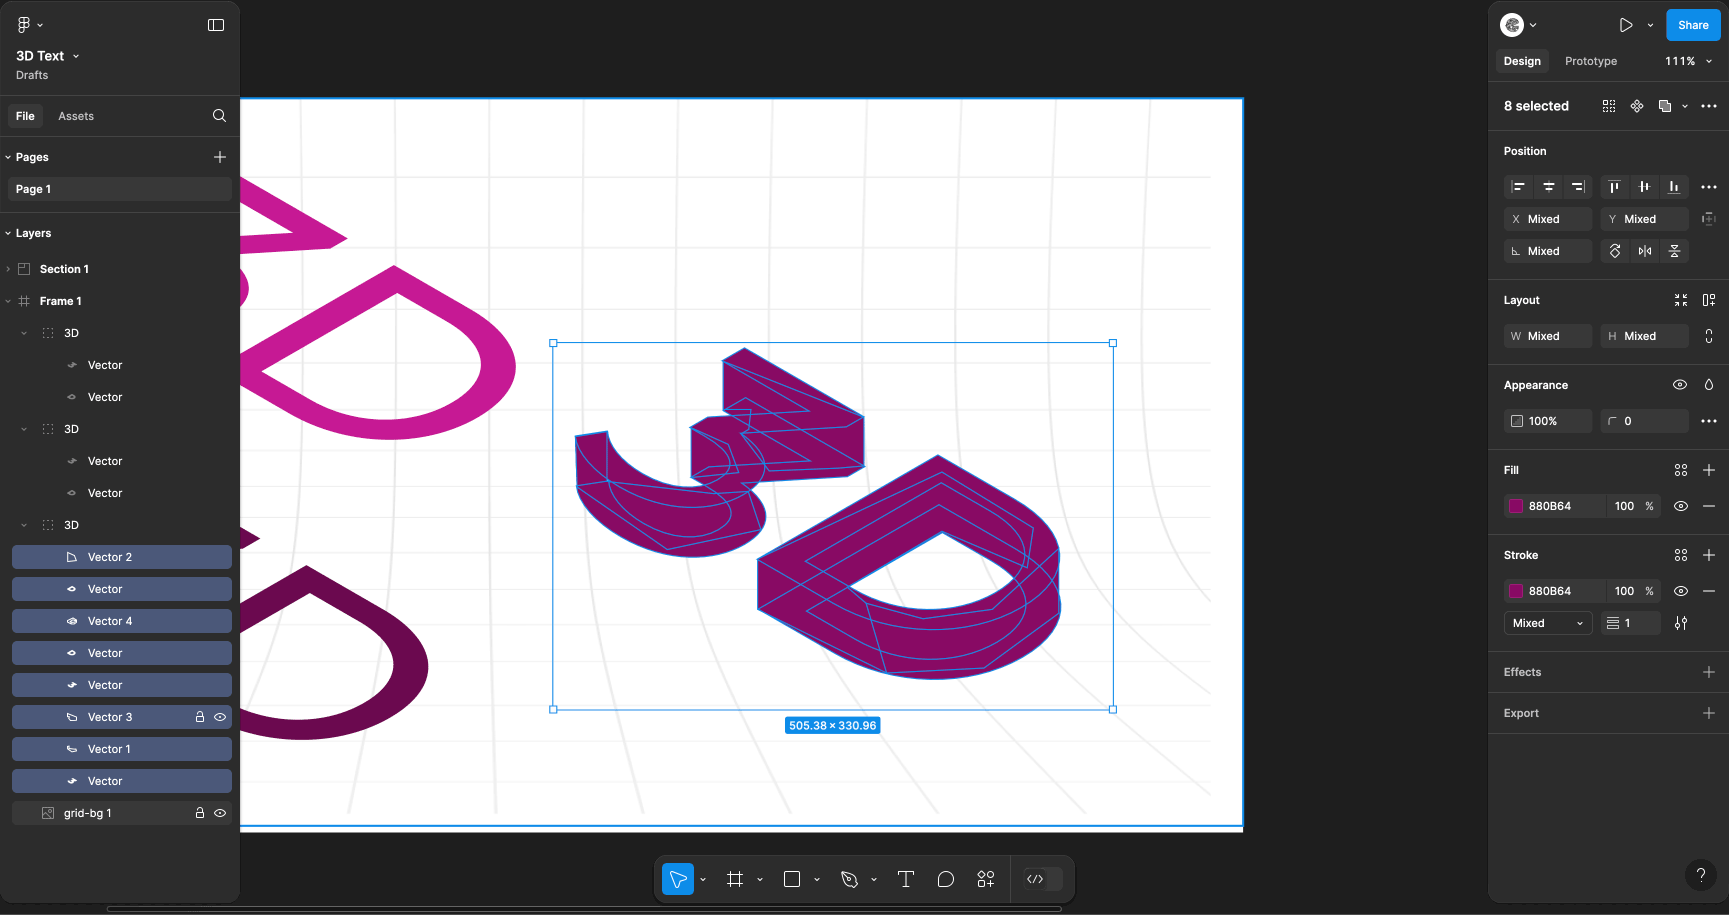
Step 3: Turn Text into Shapes
- Convert to Outline: Select your text, right-click, and choose
Outline Stroke(or pressShift + Command + Oon Mac /Shift + Ctrl + Oon Windows).
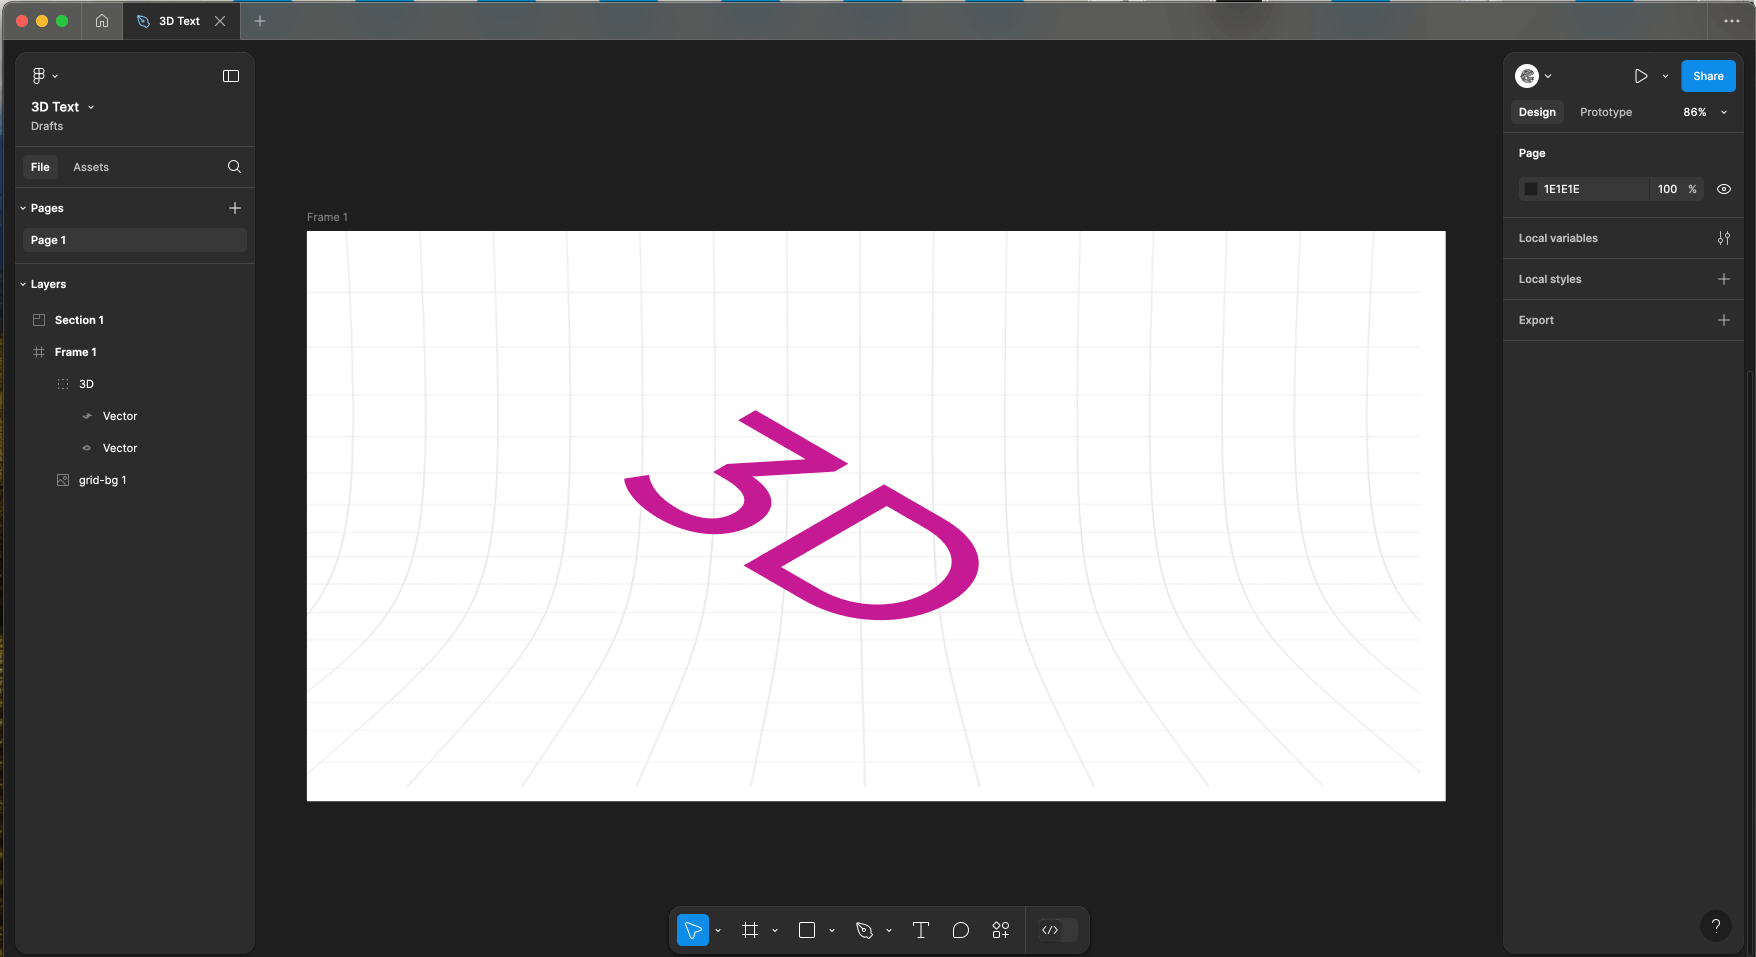
Step 4: Rotate for 3D Effect
- Ungroup If Needed: If your text has multiple characters, right-click and
Ungroupthem (Shift + Command + Gon Mac /Shift + Ctrl + Gon Windows). - Rotate:
- Select a letter.
- Rotate it
-45°.
- Group Text: After rotating, select all the characters and group them (
Command + Gon Mac /Ctrl + Gon Windows). - Change Height: Set the height of the grouped text to 57.73%.
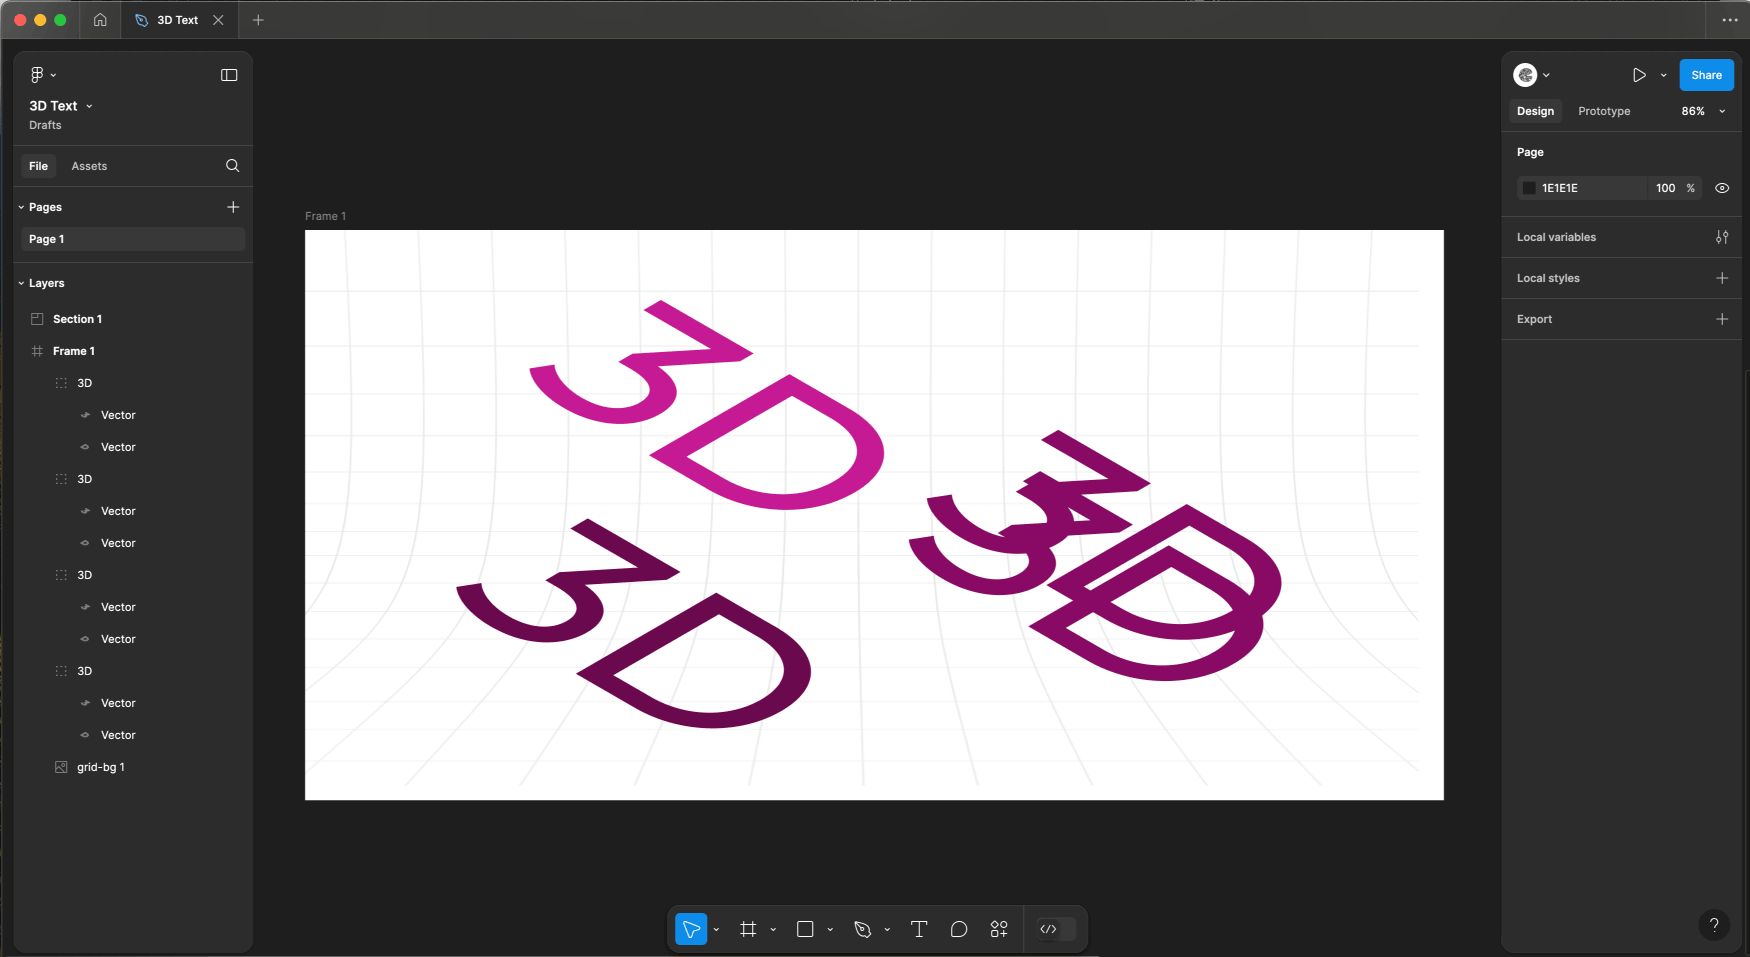
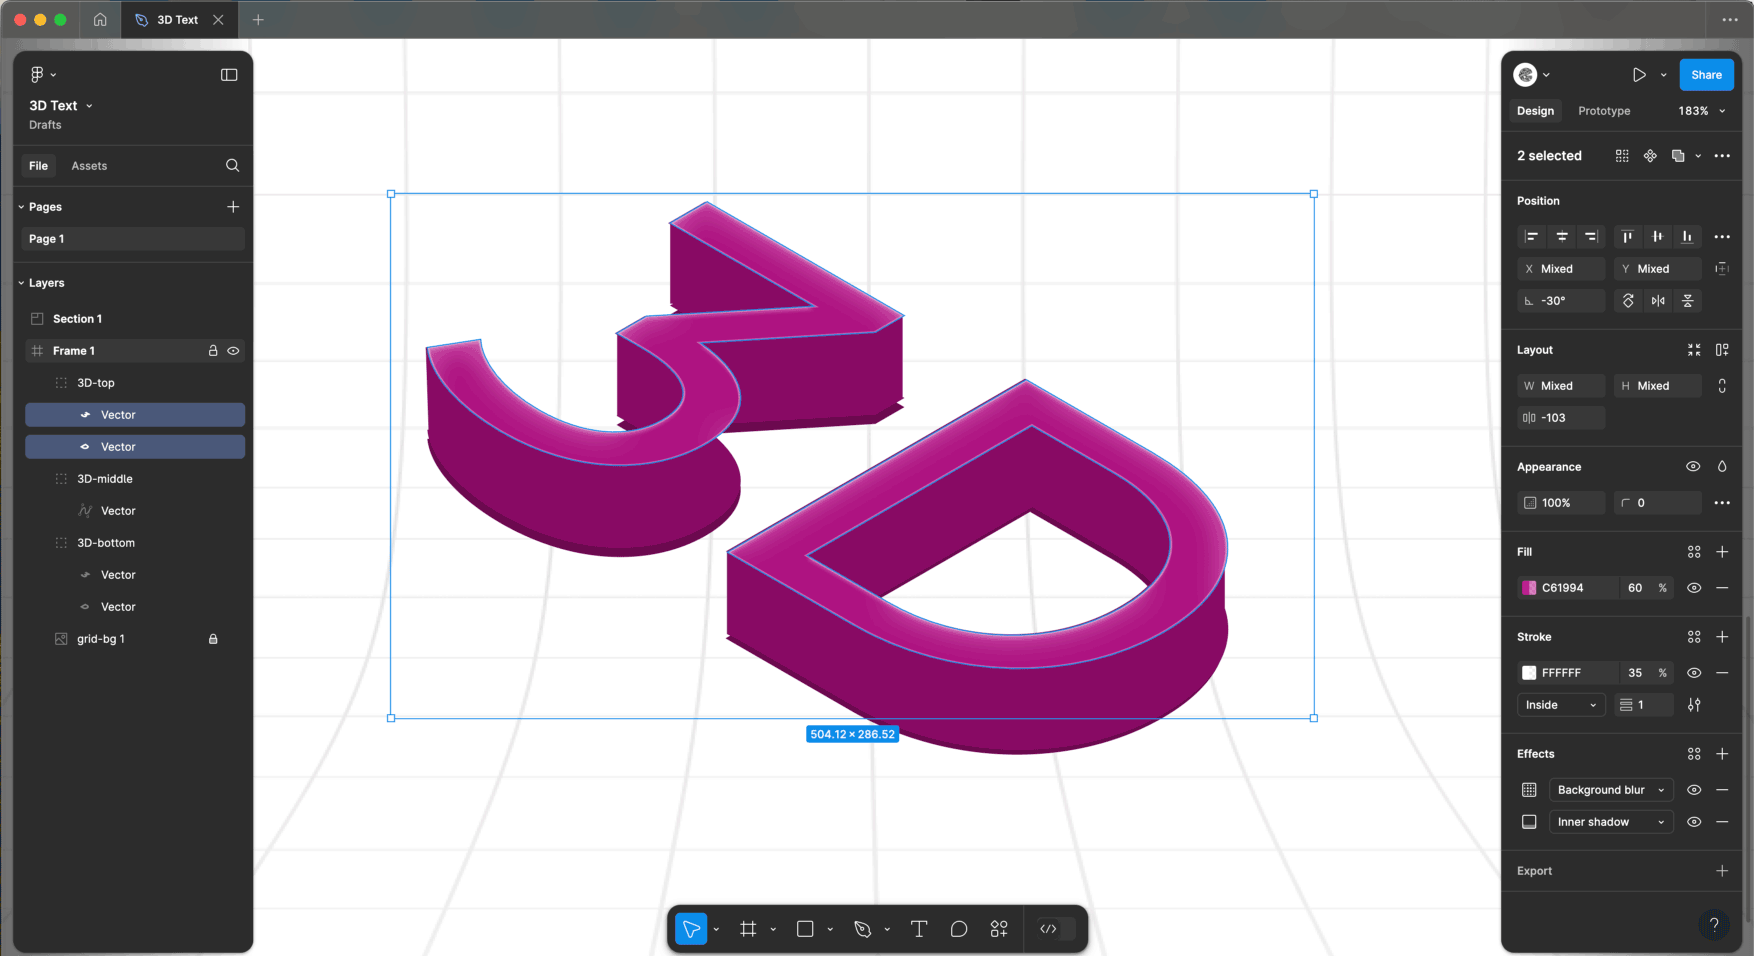
Step 5: Create the 3D Depth
- Duplicate: Copy your grouped text three times (
Command + Don Mac /Ctrl + Don Windows) and move the copies down and to the right. - Change Color:
- Top Layer: Set the color to
#C61994. - Middle Layers : Set the color to
#880B64. - Bottom Layer : Set the color to
#6B094F.
- Top Layer: Set the color to
- Arrange Layers: Move each duplicate slightly to the side and down to create a layered 3D effect.
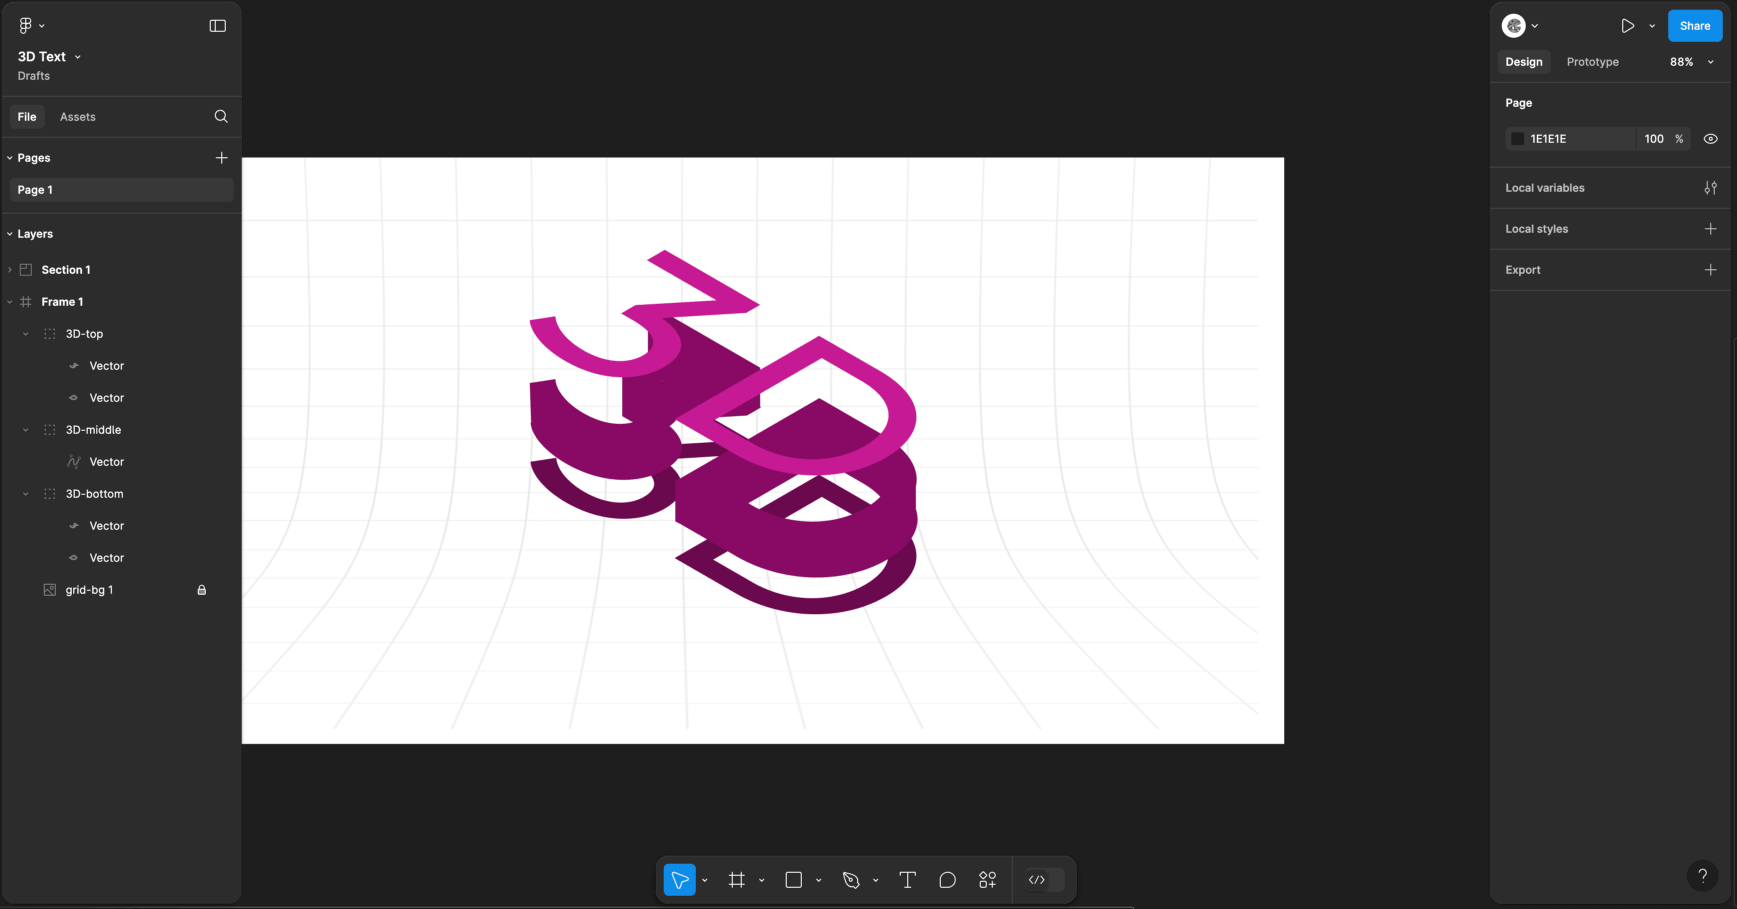
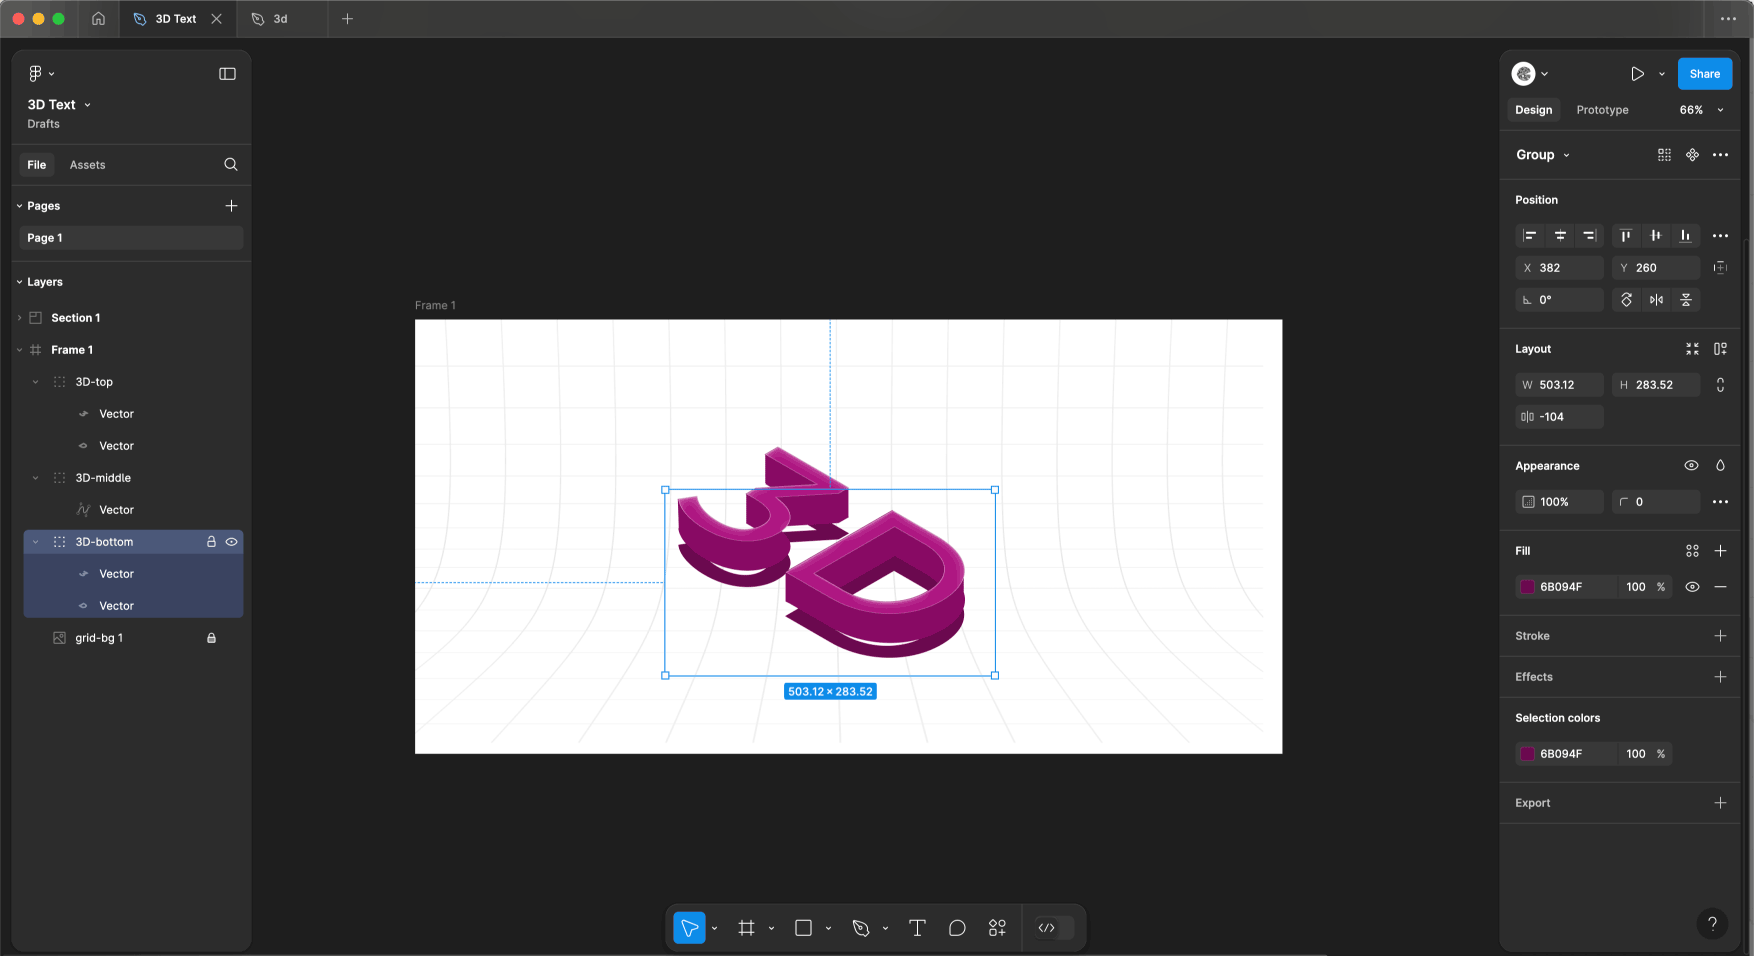
Step 6: Connect the Pieces
- Draw Connecting Lines: Use the
Pentool (P) to draw lines between the original and shadow text to create depth.
Step 7: Group and Tidy Up
- Group Elements: Select everything and group them (
Command + Gon Mac /Ctrl + Gon Windows). - Position: Move your grouped 3D text where you want it on the frame.
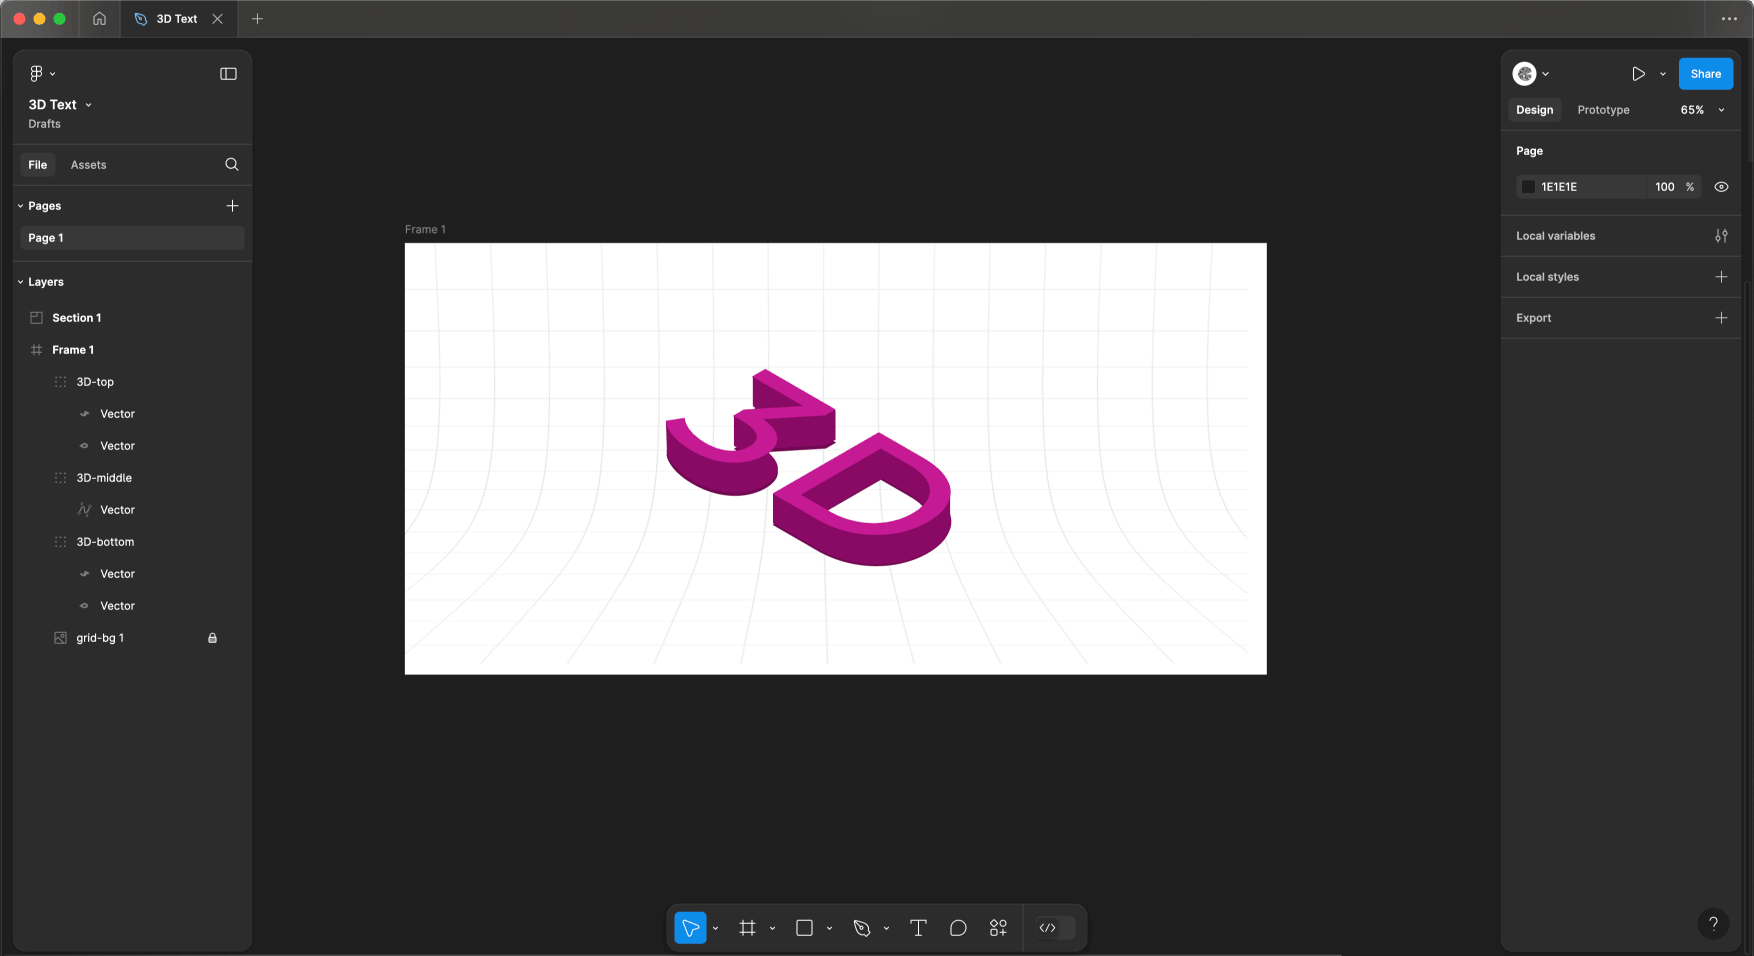
Step 8: Style the Top Layer
- Opacity: Change the opacity of the top layer to 60%.
- Inside Stroke: Add an inside stroke with 38% opacity, 1px width, and color
#FFFFFF. - Background Blur: Add a background blur of 20.
- Inner Shadow: Add an inner shadow with settings: x = 0, y = 2, blur = 2, spread = 0, and color
#FFFFFF.
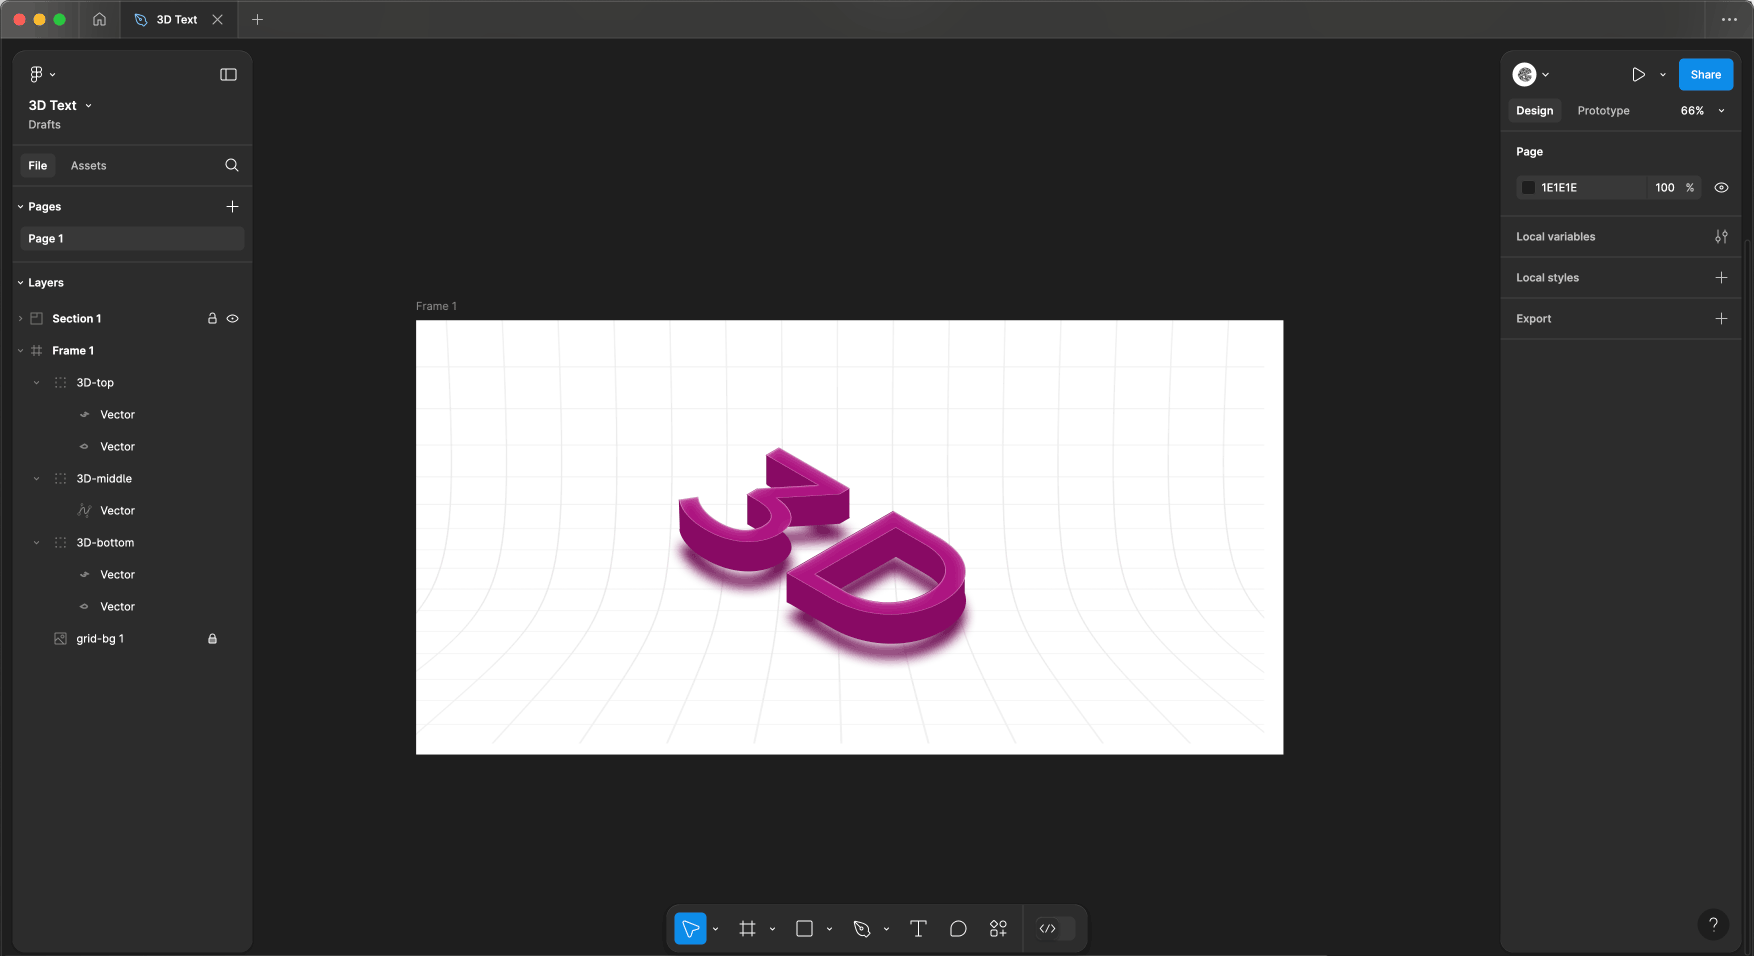
Step 9: Add Finishing Touches
- Move Bottom Layer: Move the bottom layer down a bit.
- Layer Blur: Add a layer blur of 20.
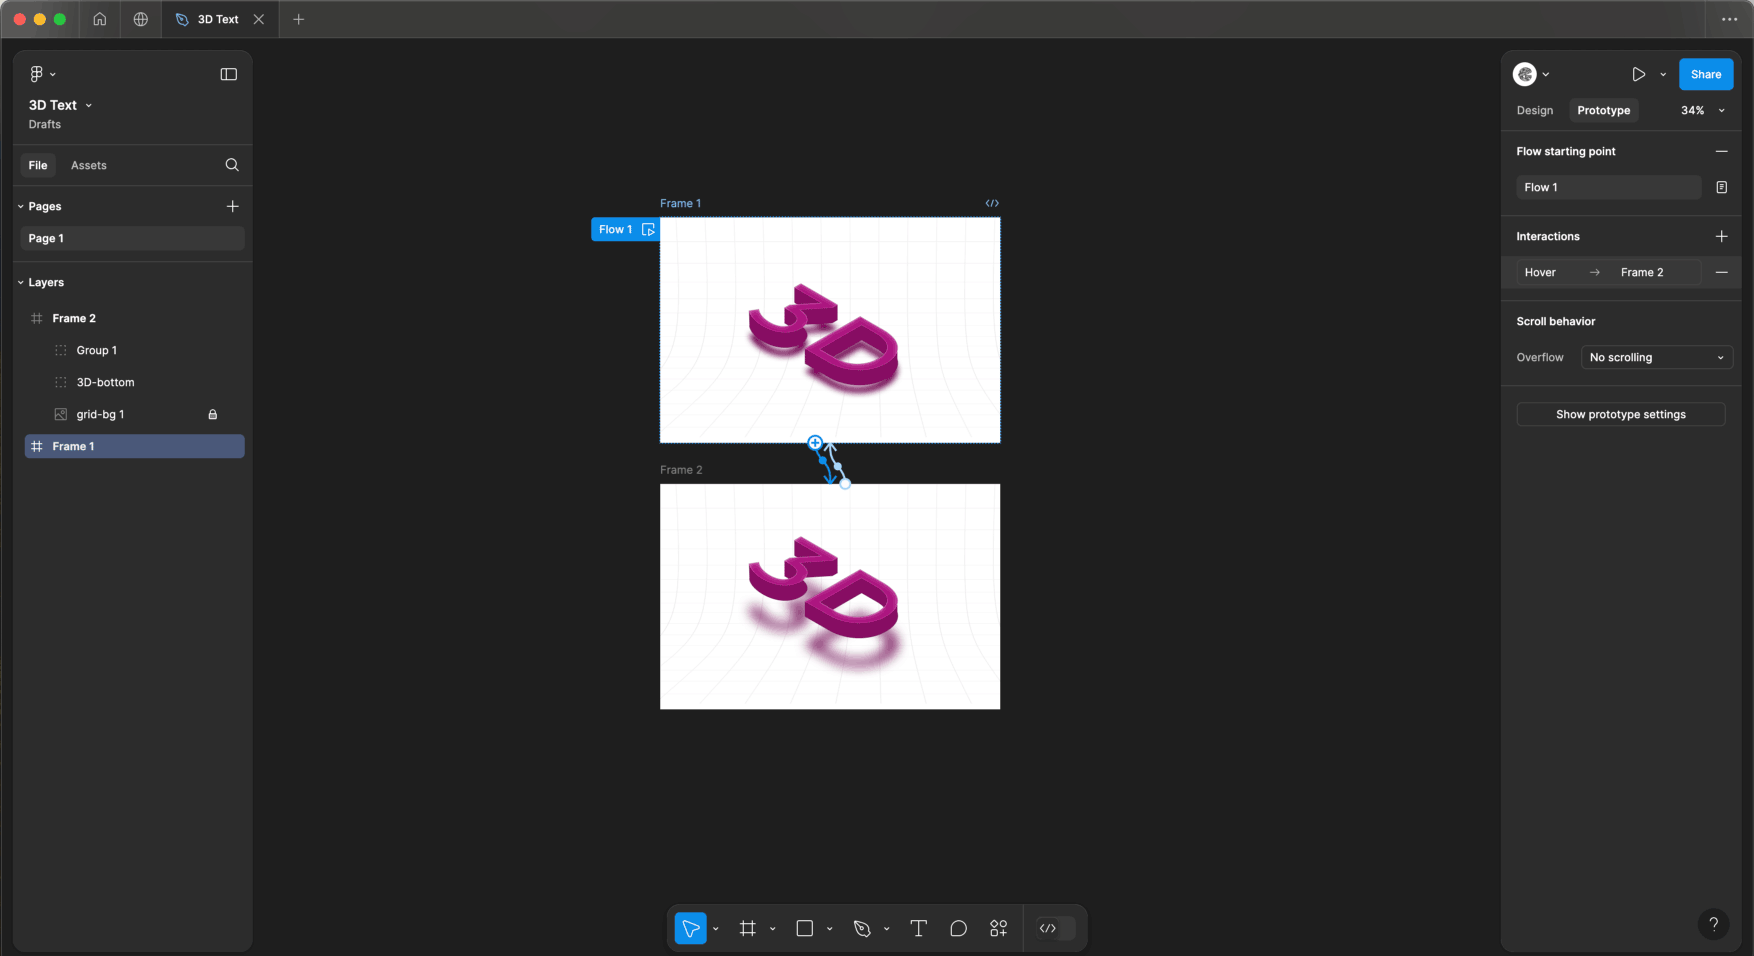
Make It Interactive
- Duplicate Layers: Duplicate the entire group of layers.
- Move the Shadow: Move the shadow of the bottom layer down and increase the layer blur to 40.
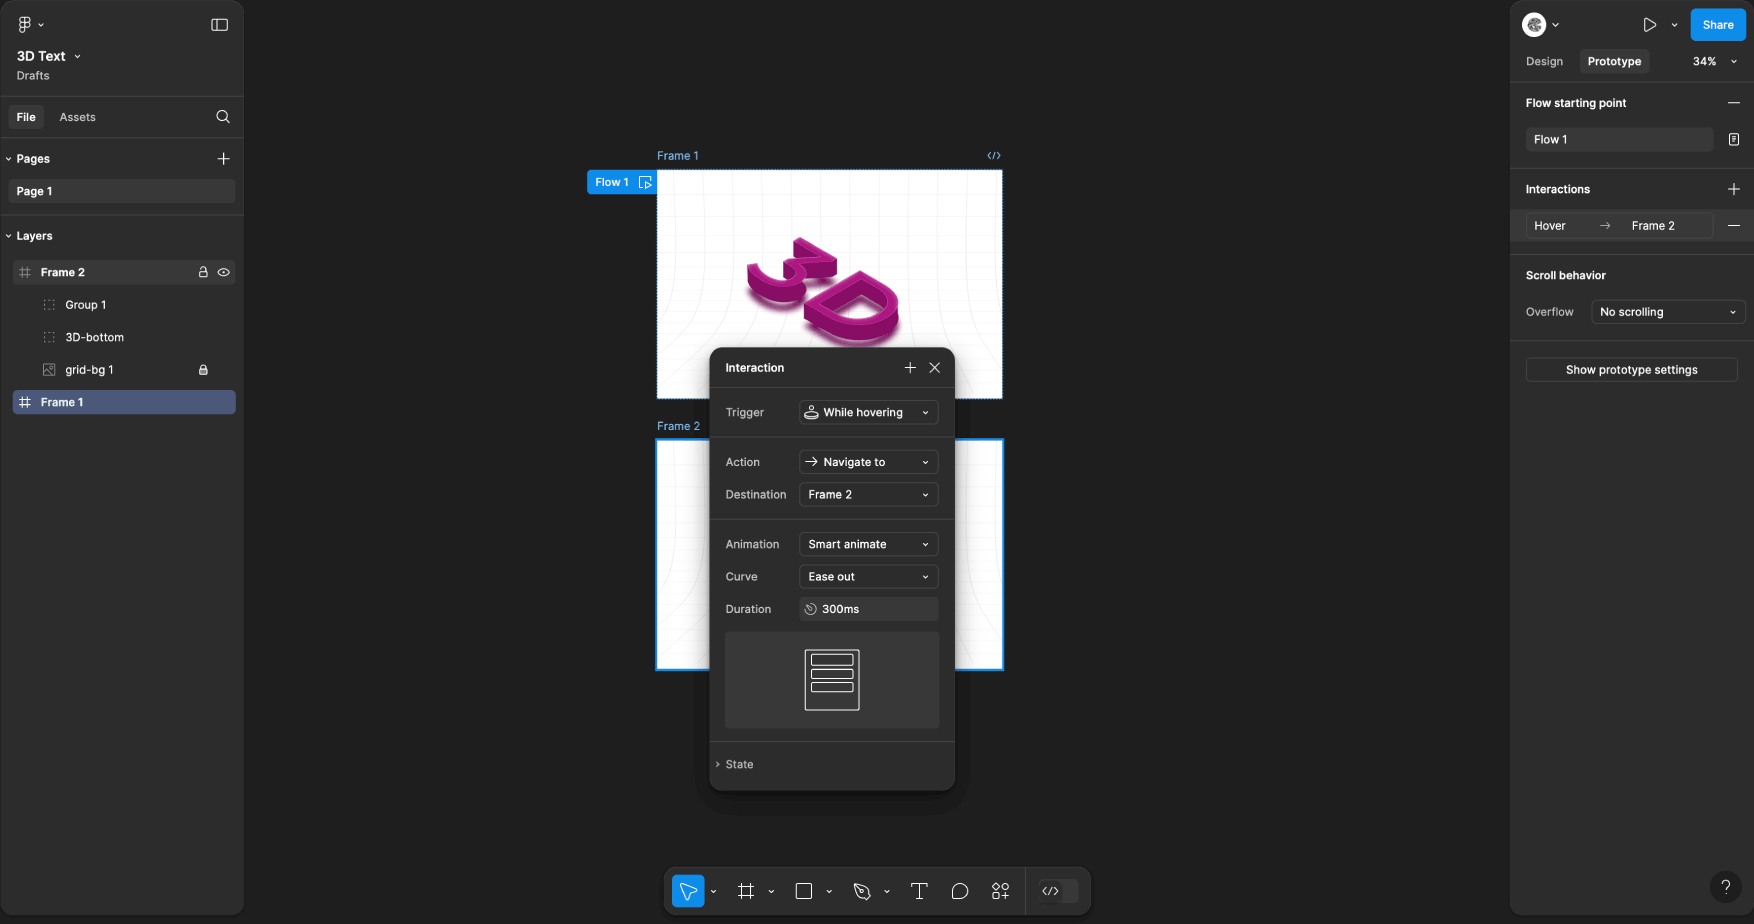
- Prototype Settings:
- Prototype Mode: Click on the “Prototype” tab.
- Create Interaction: Select the first frame, drag the noodle to frame 2, and set the following settings:
- Trigger: While hovering
- Action: Navigate to
- Animation: Smart Animate
- Ease: Ease out
Save and Share
- Save: Don’t forget to save your work!
- Export: Select your 3D text group, click
Exportin the right panel, choose your format (PNG, SVG, etc.), and hitExportand Enjoy!
Final Result
Grab it!

